Automation items are basically containers for envelope data that you can loop, copy, stretch, and pool like regular items.
What's great about them is that you can treat your automation envelopes just like an item! 🤯
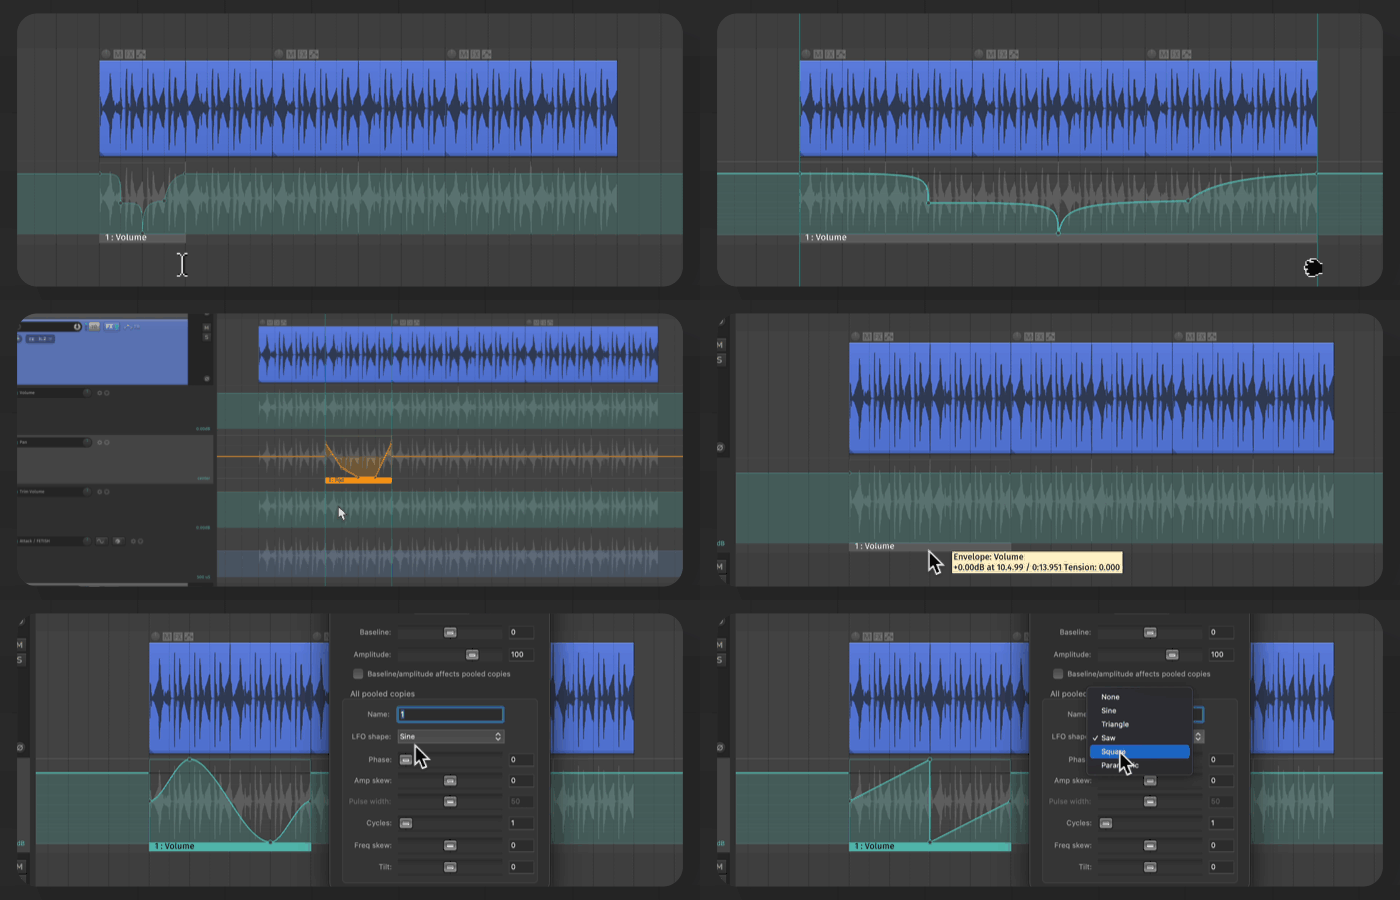
In this article, I will show you how to create them and some ways that you can use them to enhance your workflow.
ㅤ
📒 Table of content
1. How to create an automation item
2. Moving Automation Items Around
3. Multiple Pooled Copies of an Envelope
4. Stretching and Shrinking Automation Items
6. Saving and Loading Envelopes
How to create an automation item
Simply hold Alt/Opt as you drag the bottom of any envelope lane.
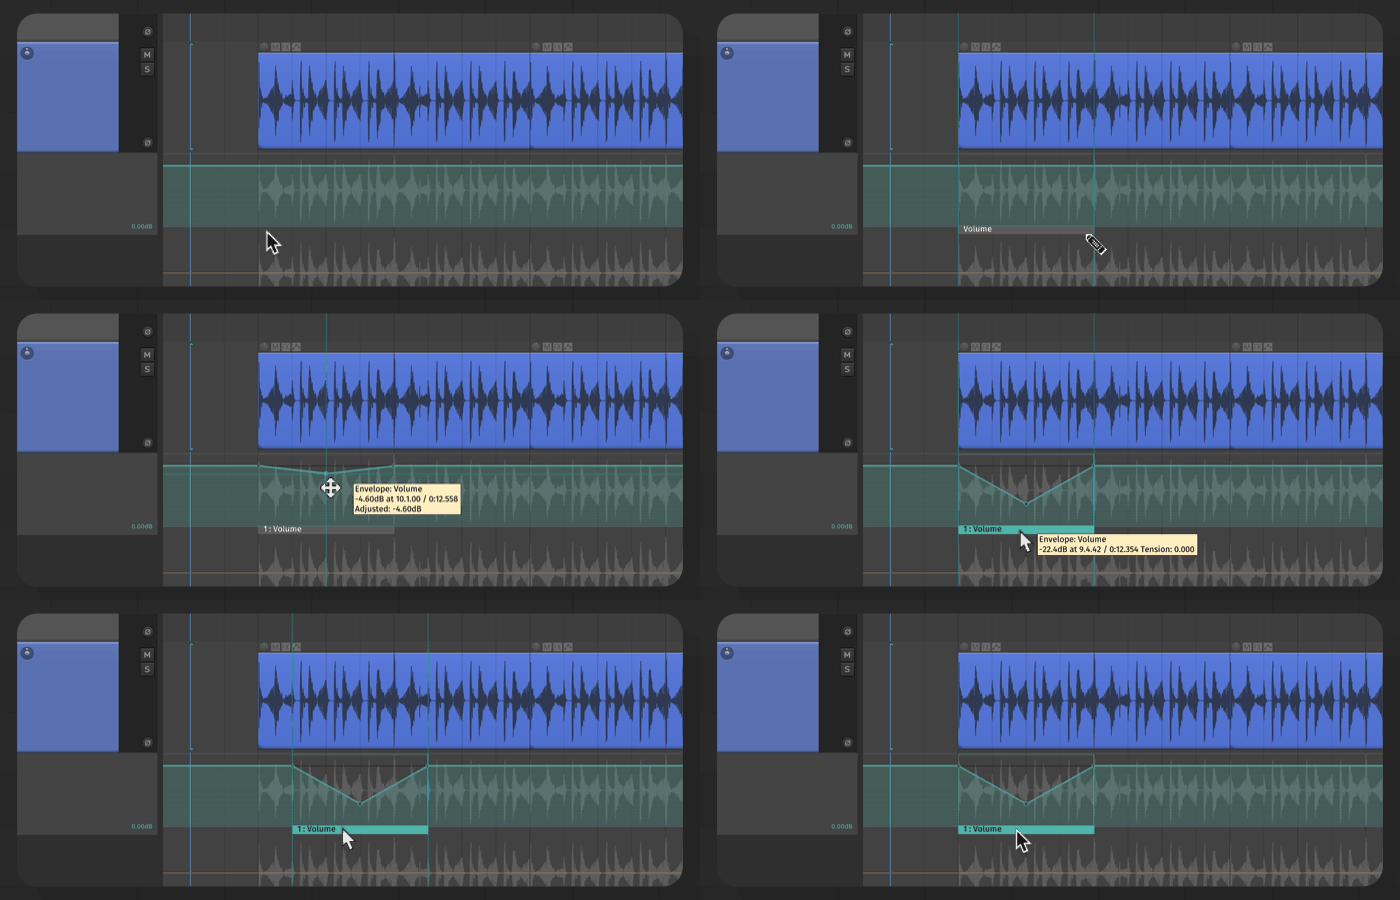
If there were envelope points already, it will contain those envelopes.
If there were no envelope points, it would create a blank automation item.
🔻Some cool things you can do
1. Moving Automation Items Around
One of the best things about automation items is how easy it is to move them around as a whole. You can even place them in other automation lanes!
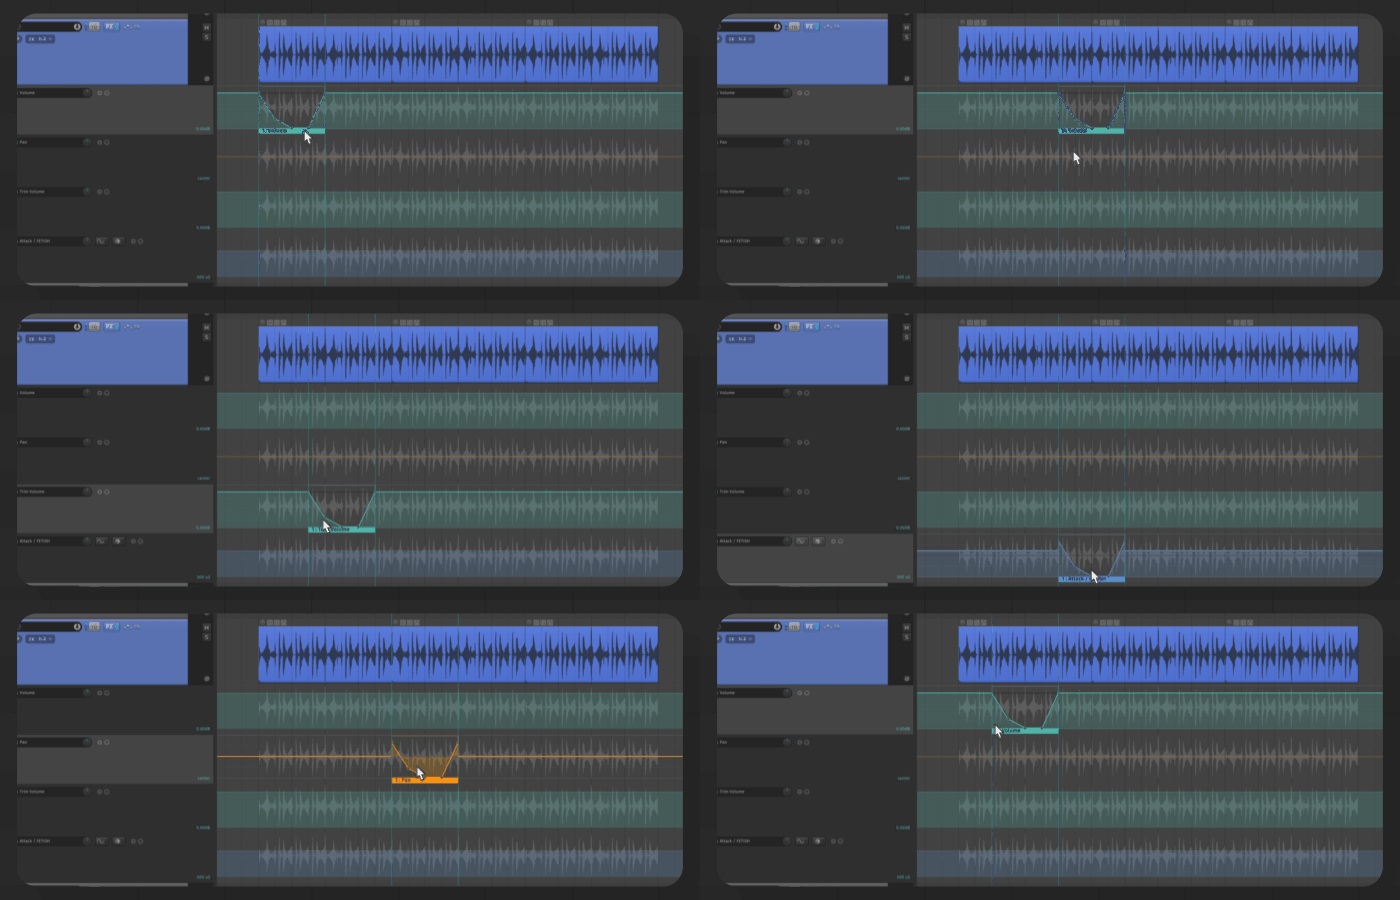
This makes it super easy to experiment with different arrangements or make quick changes without having to redraw all of your points by hand.
2. Multiple Pooled Copies of an Envelope
One of the most useful features of automation items is that you can have multiple pooled copies of an envelope.
You can do this by holding Ctrl/Cmd + Alt/Opt as you drag an automation item. Or right click > “Create pooled duplicate”.
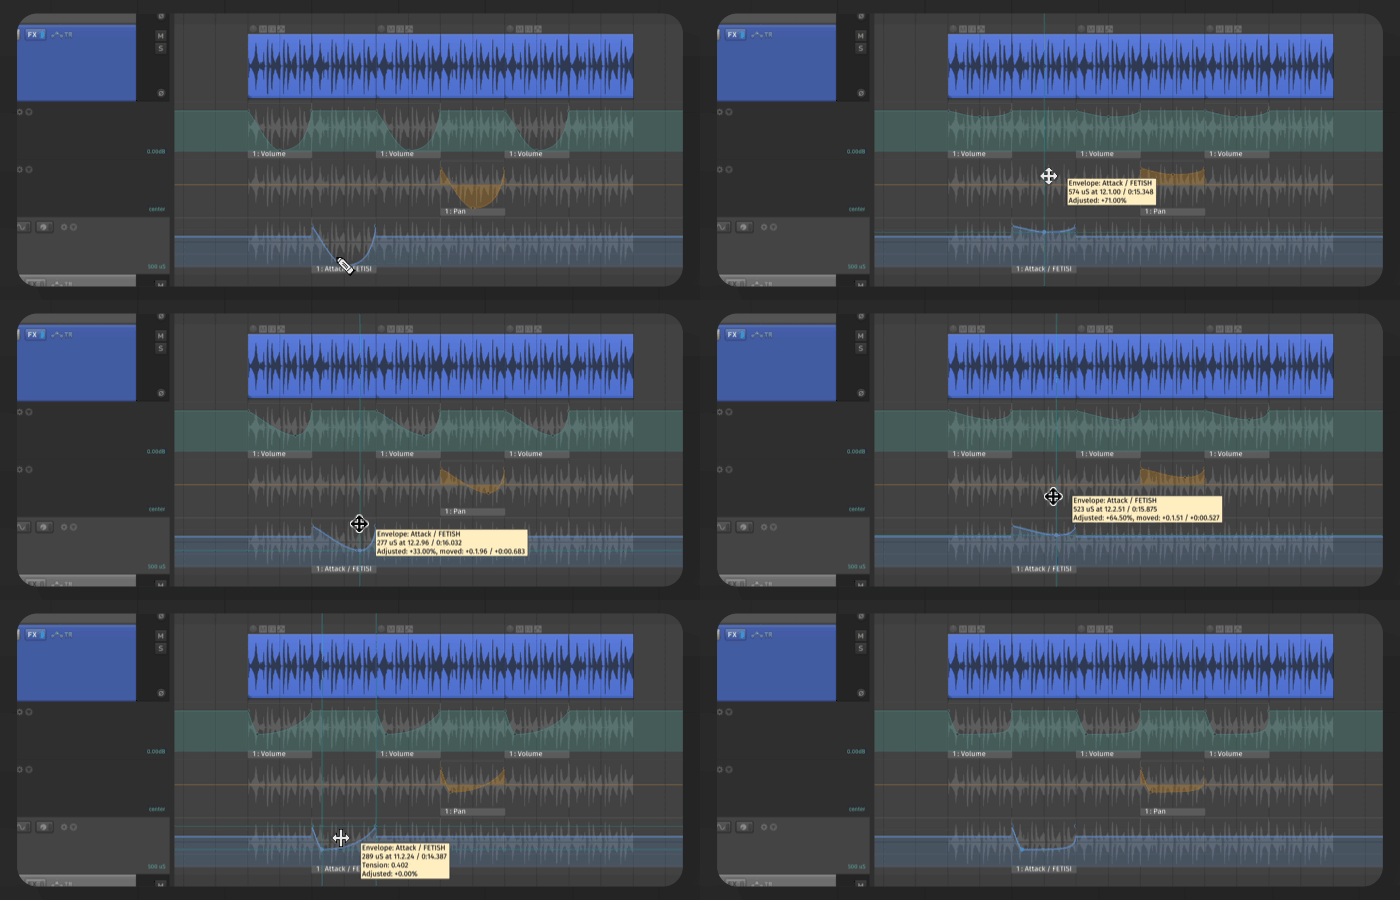
This means that if you have a complex automation curve that you want to repeat in several places throughout your project, all you have to do is create an automation item and copy it as many times as you need. This saves tons of time and ensures consistency across your project.
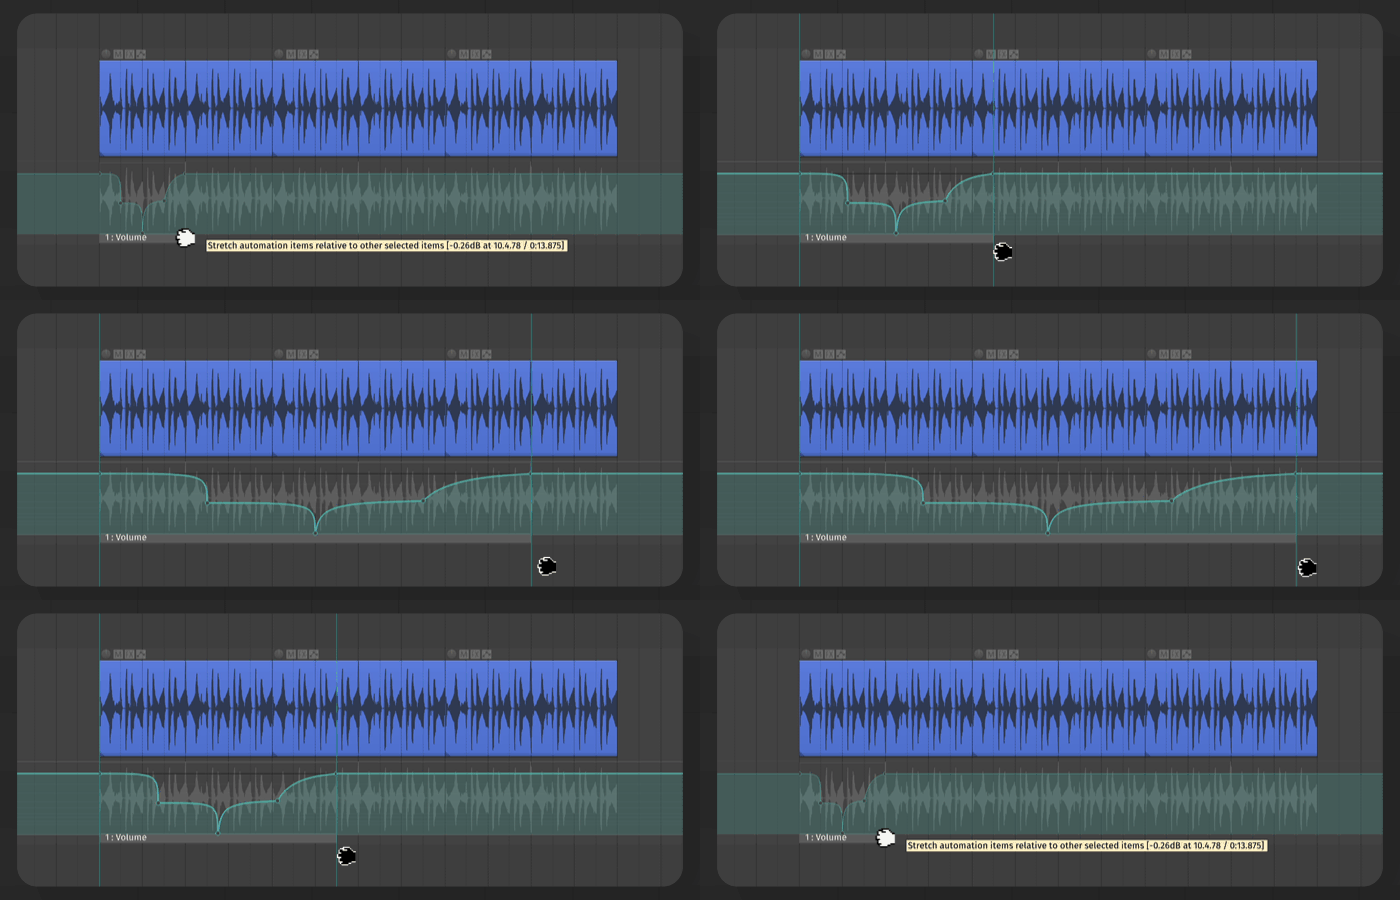
3. Stretching and Shrinking Automation Items
This is probably my favorite thing! You can stretch or shrink your automation items just like regular audio or MIDI items.
Simply hold Alt/Opt as you click and drag any of the edges.
4. Applying LFOs to Envelopes
Another great use for automation items is applying LFOs (low frequency oscillators) to your envelopes.
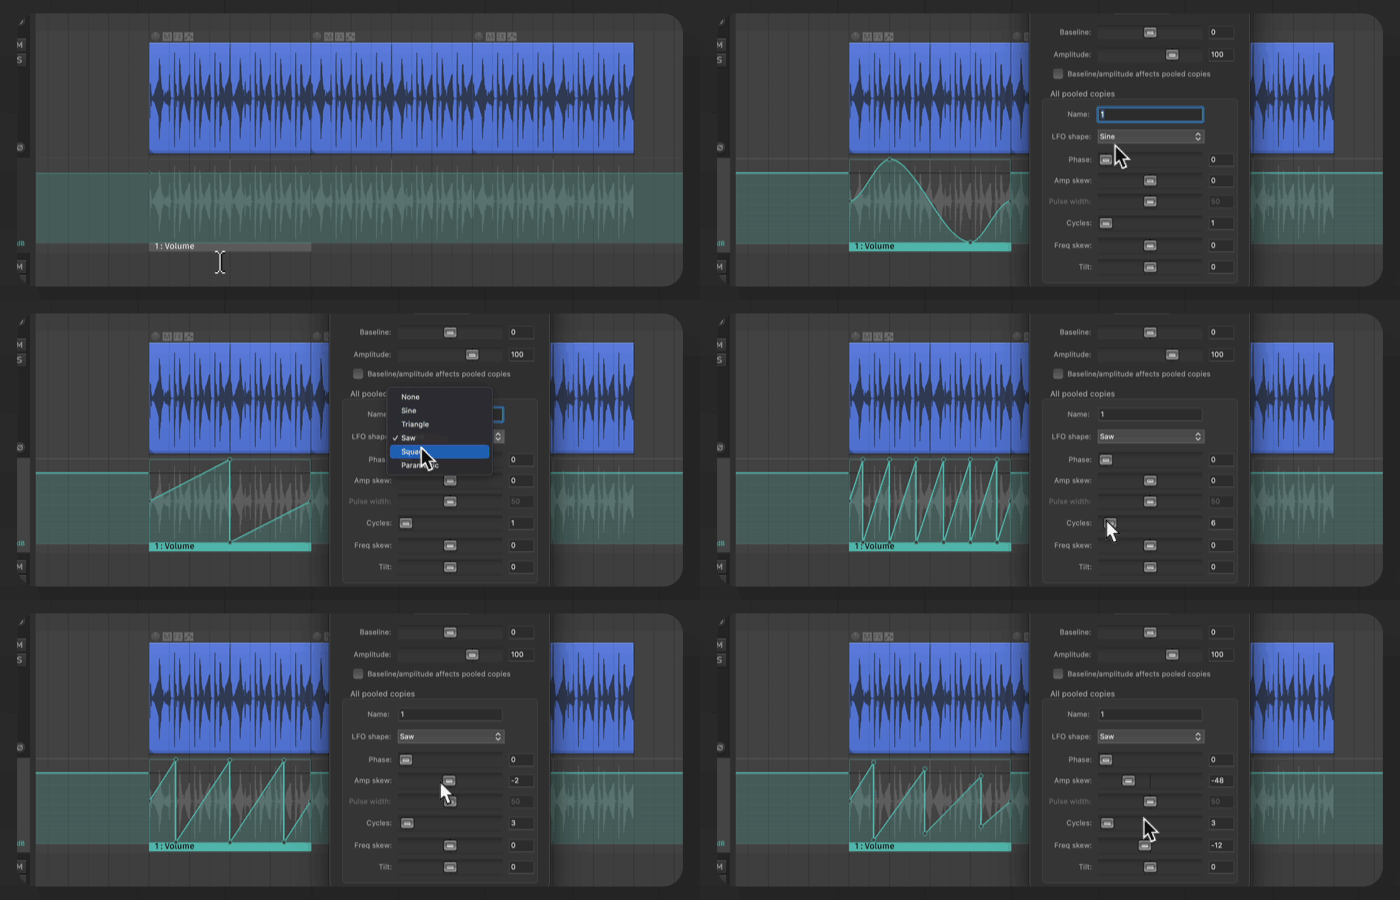
Once you've created an automation item, just double-click on it and adjust the LFO settings. This makes it easy to add subtle or crazy modulation effects to your tracks without having to manually draw every point on the envelope.
5. Saving and Loading Envelopes
Saving and loading automation is also super useful! Just right-click on an item and choose either "Save” or “Load".
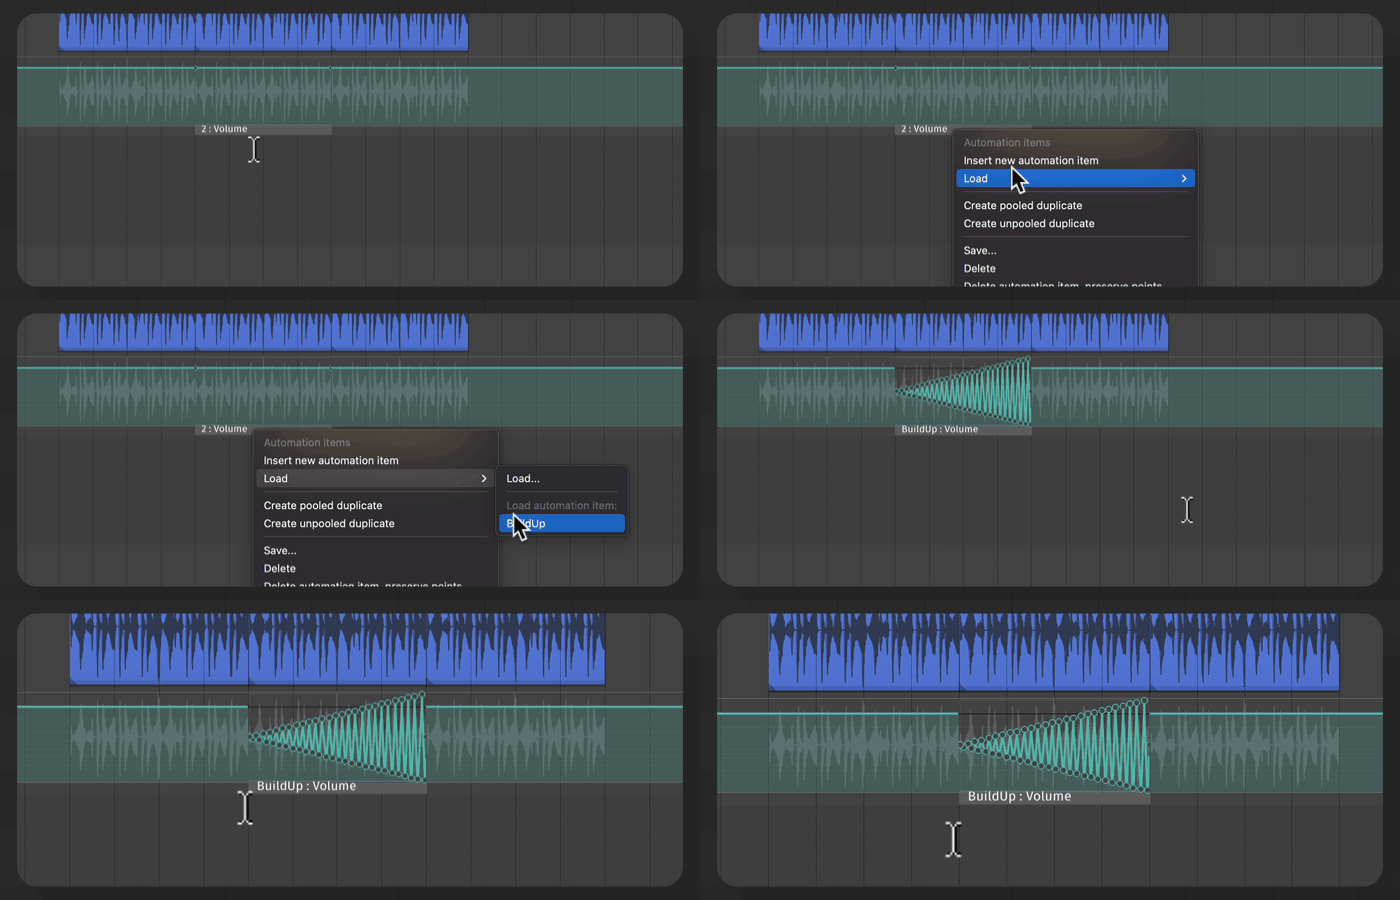
If you frequently use a specific shape, it's a good idea to save it for future use.
6. Stack Envelopes In The Same Lane
This is a bit of a rare case, but you can actually stack automation items on top of other automation items in the same lane.

The way I have used his technique is to reduce the intensity of an automation at a specific range. For example, I’ll add a -6dB automation item in the middle of an automation item.
But like I said, it’s very rare case 😅
That’s it!
I hope these tips help you get started with automation items 🙂 – I’ve been using them a lot since they got released back in REAPER v5. Definitely one of my favorite additions of all time!


