If you're interested in tweaking or creating your own REAPER themes, the first step is to know how to find and unpack the theme file. 💪
In this guide, I'll show you how to do that, as well as provide some common tweaks you can make to your REAPER interface.
How to tweak any REAPER theme
Step 1: Find theme file
- In REAPER, go to Options > Show REAPER Resource Path.
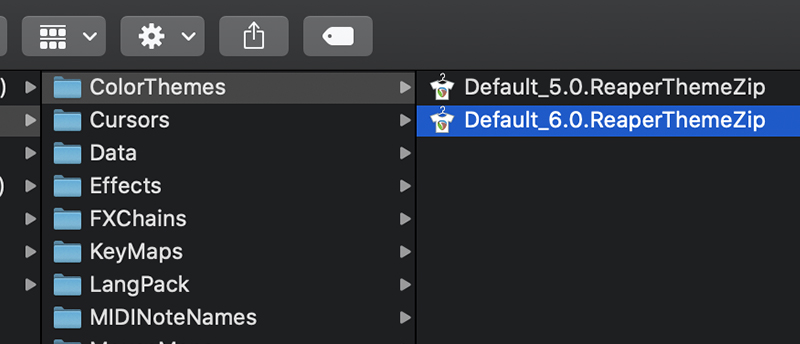
- Go to “ColorThemes” folder and find the theme you wanna tweak.
In this case we will tweak the Default_6.0.ReaperThemeZip

Step 2: Unpack the theme
- To unpack the theme, rename the file’s extension to “.ReaperTheme.Zip”.

- Unzip it. You should now have a folder with two items like this:

Step 3: Tweak away!
- In the “unpacked” folder, there’s all the theme images in the three different resolutions.
- There is a file called "rtconfig.txt" that is essentially the backbone of the theme. In this file, you can adjust, add, or remove elements from REAPER's interface.

Step 4: Pack the theme back
- Zip back the two files we previously unzipped.

- Name it with using extension “.ReaperThemeZip”. This is now your modified theme!

Some common theme tweaks
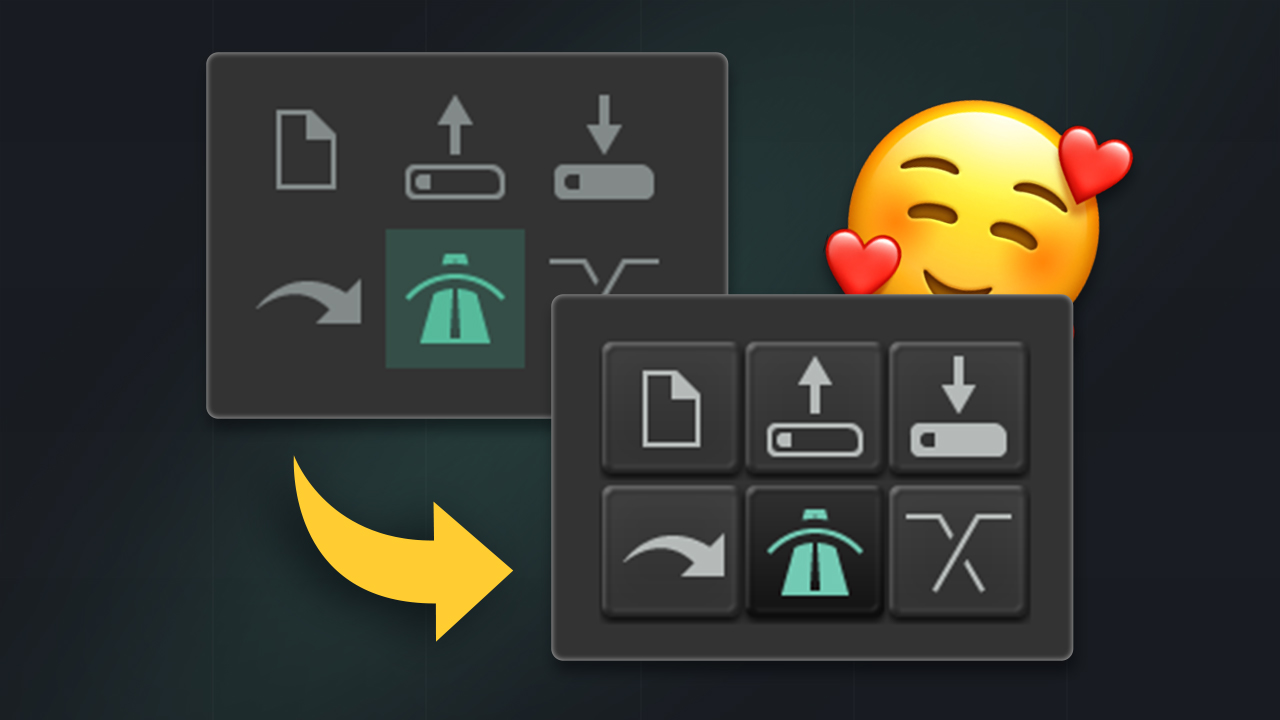
1. Add borders to toolbar icons
If you are also bothered by the lack of borders in REAPER 6 toolbar icons, here’s how you can set it up and customize it to your taste.

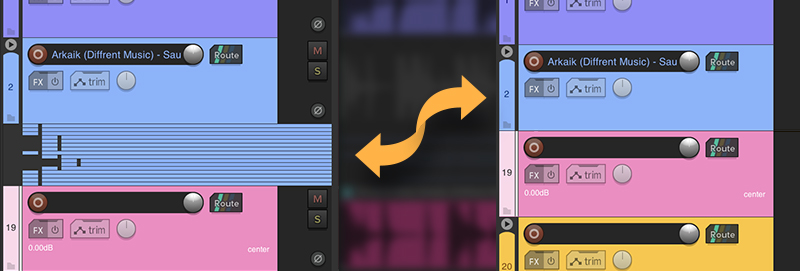
2. Super-collapse folders
Ever wanted to fully collapse your folders instead of the tiny tracks REAPER does by default? Here’s how you can customize any theme to have fully collapsable folders.

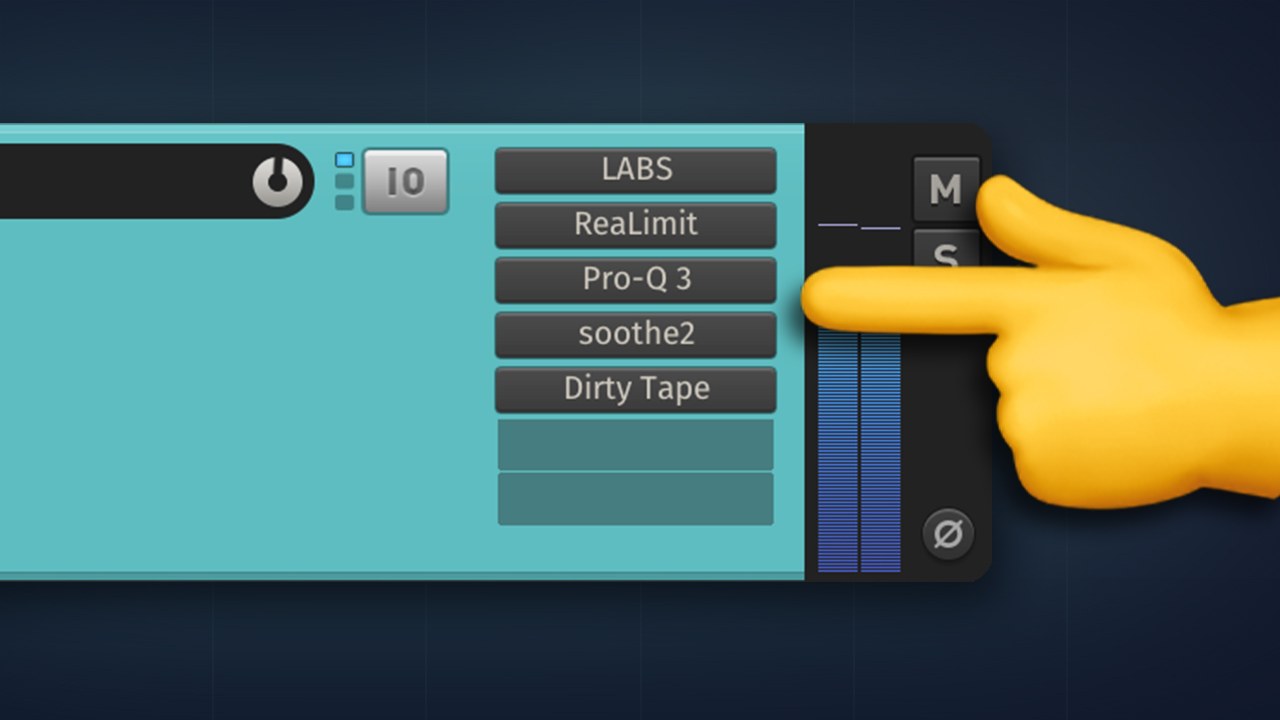
3. FX list (Pro Tools Style)
REAPER allows you to view and manage FX inserts inside your tracks. Here’s how to enable and a hack to show it on the right or left side.

That’s it for now!
I will keep updating the list above with more tweaks as I keep finding 🥰
ㅤ


