I have to be honest, coloring items and tracks in REAPER often feels like too many steps. You have to right-click the track → track color → set track to custom color, then it opens your computer's native color tool, which is not really optimized for this. If you use “random color,” it often doesn’t fit well.
Many other DAWs have predefined colors in a palette that you can quickly access, and they match the DAW perfectly. For example, in Logic and Studio One, there's a handy color palette with various shades that all look great.
Today, I want to show you a tool that replicates this feature and does it better than anything else I've seen. It’s simple, clean, and very efficient.
I’m talking about the free script called Color Palette by Rodilab. Let me show you all the cool things you can do with it, and at the end, I'll show you how to install it. It’s pretty easy! 👍
📹 Video Overview
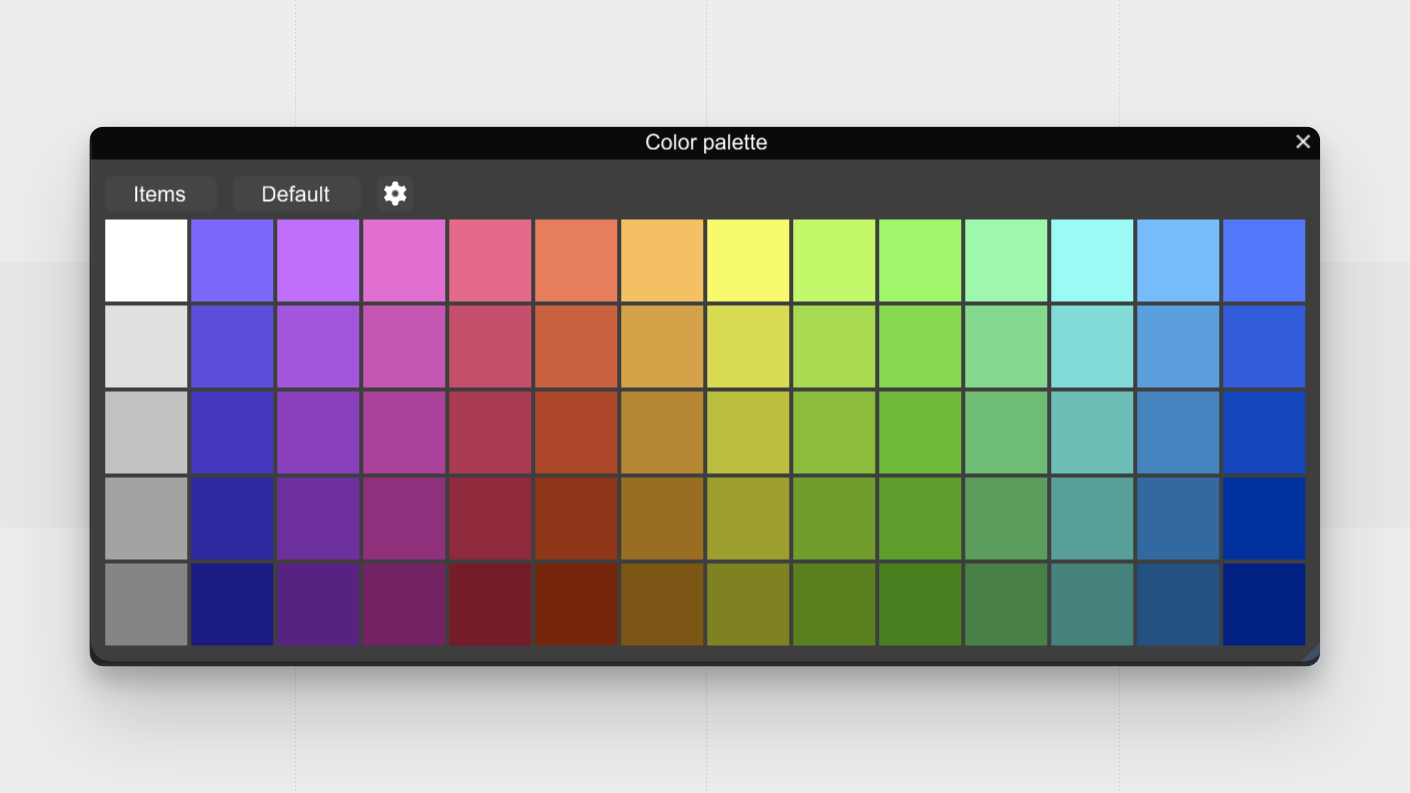
🎨 Color Palette Script
When you run this amazing script, a window will appear under your mouse with a bunch of color boxes. Clicking on any of these will color whatever you have it set to. Not only you are able to color tracks and items but you can also use it to color take markers, markers and even regions!
Seriously, I want to emphasize how elegant of a solution this is. This script is so feature packed and solves so many problems while never feeling overwhelming, you will see!
⚡ Super fast coloring
My absolute favorite thing about this script is all the available shortcuts.
For example, I can quickly bring up the script and use any of my number keys 1-9 to select any color. This lets me audition and commit to a color very easily!
There are also shortcuts for different actions like “run in order,” “run random each," and “run random all.” They are all single key shortcuts, making them very easy to perform!
🎯 Target and Action Button
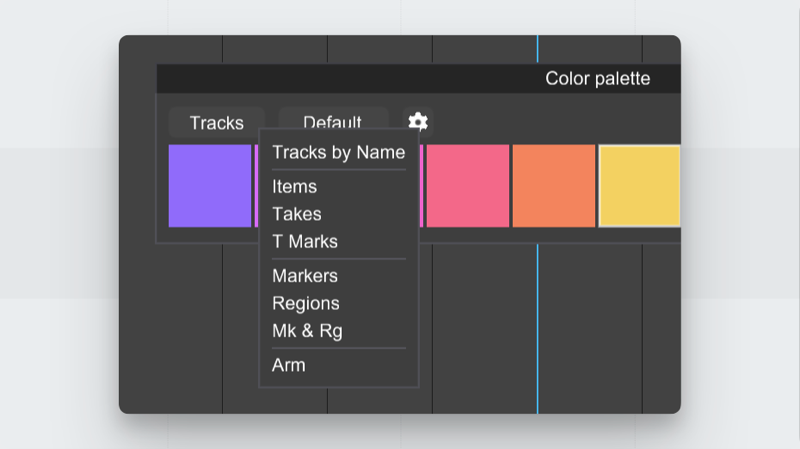
At the top left of the script, you have the Target button. Depending on what you select, the target will change. If you select an item, it will say “item,” meaning that when you click on a color, it will color the item.
Right-click on the target button to see the full list of available contexts. You can even type the name of the track! This is very useful if you have many tracks or items that start with “vocal”; it will find all of those and color them.
What makes this so powerful is the Action button next to it. When clicked, it will perform any of the following actions you choose:
- Default: Restore default color.
- Random All: Set a random color to all selected targets.
- Random Each: Set a random color to each selected target.
- In Order: Set to ordered palette colors.
With these two buttons, you can conveniently batch process colors to any category saving you a lot of time.
For example, let’s say you would like to have all of your regions with random colors from your palette. You’d right click the target button, select regions and then run the action “random each”. (Make sure to make a time selection across the regions you want affected)
💪 Very flexible and responsive interface
Another favorite feature is how responsive the interface feels. You can resize it and adapt it for any environment you want to work in.
Clicking on settings, you'll find options like "vertical mode" which changes the color rows to go vertically instead of horizontally.
There’s also an option to set it to “dock” mode. This will dock the script in REAPER, allowing you to move it around. It will always remember its position when you close and reopen it.
Additionally a Size tab that lets you set the number of rows and columns you want. You may wonder about the difference between "Palette lines" and "User lines." I’ll explain it now!
🧑🎨 Palette & User Lines
Clicking on settings you will find the “Color” tab. This will allow you to fine tune the Palette lines in real-time!
In the “Size” tab, adding more rows widens the color spectrum. Adding more Palette lines increases shading variations.
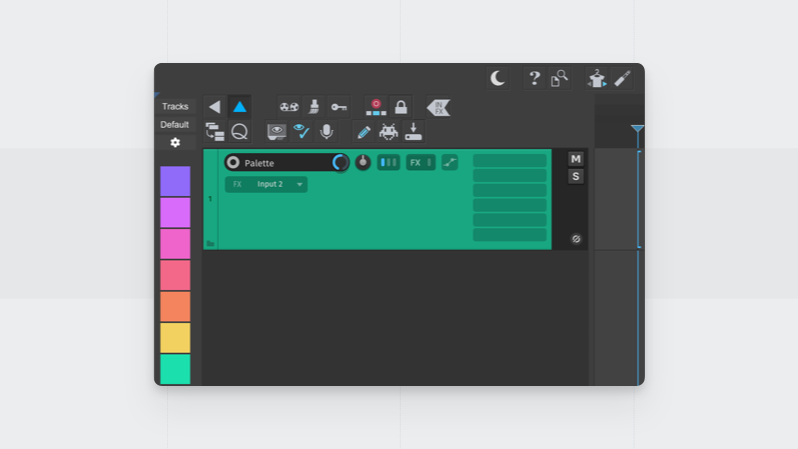
Right below the Palette lines, there are the User lines. These are your own custom colors that you can set. If you find colors you like from the palette line, you can simply click and drag them into the User line. Or you can click on one of them to set it up manually.
You can disable palette lines by setting the number to 0 and only have user lines. Or you can add many lines to create a huge color spectrum.
What I did was create a big palette. As I tested the colors in my tracks, I dragged my favorite colors into the user column. Then, I disabled the palette lines completely, leaving only my favorite user colors!
⚙️ Additional settings
There’s more handy settings!
- Set always color to children: This means that if you color a folder track, all its children will automatically be colored without needing to select them.
- You can also set it to quit after applying color, making it extra snappy!
- Highlight matching colors means that if you have a track/item selected and its color matches one in your palette, it will highlight it. I love this because it helps confirm if I am using the same color as other tracks.
💠 How to install
To install this script, you need Reapack and the SWS extension.
Installing the SWS extension is straightforward. Just go to https://www.sws-extension.org/ and use the installer for your system.
Installing Reapack requires a few more steps. I made a guide and also made a video you can check out. Make sure you install the default repositories as instructed, this script is included in there!
Once those are installed, the script should appear in your Actions menu (shortcut: ?). Search for “Color palette”. I recommend setting a single key shortcut for it; I have it set to C.
⬇️ Download some colors!
I made this palette that I think fits so well with the Reapertips theme.
🎨 Download here → Reapertips Palette
Thank you Rodilab ❤️
I want to give special thanks to the creator of this amazing script, Rodilab.
You can check the forum thread of this script to show them some love, or maybe report a problem or ask a question.
That’s it 💙
I have been using this script for over 4 years now, and it has saved me so much time. It’s seriously one of my favorite tools ever. There are a lot of other color palette scripts out there, but this one feels so lightweight and cohesive. The shortcuts make it so easy to use!
Let me know if you are into it 🥰
ㅤ